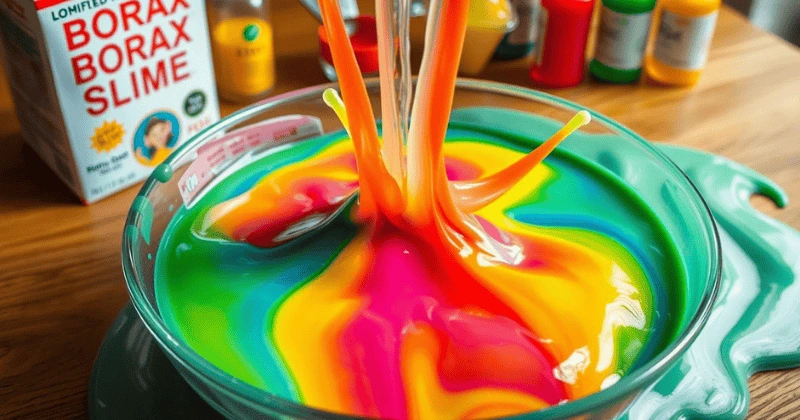
Do you remember playing with homemade slime as a kid? It was so fun to squish and stretch it. This guide is here to bring back that joy. It’s perfect for parents wanting to entertain their kids or anyone curious about slime.
Making your borax slime is a fun adventure. It’s a great way to learn about science while having fun.
Table of Contents
Understanding the Science Behind Borax Slime
Exploring borax-based slime opens the door to the world of slime science. It’s all about polymers and cross-linking, which turn simple materials into a special non-Newtonian fluid.
What Are Polymers and Cross-linking?
Polymers are long molecules found in things like PVA glue. When borax is added, it links these molecules together, creating a stretchy, slimy texture.
How Borax Interacts with PVA Glue
The magic of borax-based slime happens when borax meets PVA glue. The borate ions in borax bond with the glue’s molecules. This creates a slime that you can stretch and mould.
Non-Newtonian Fluid Properties
Slime is a non-Newtonian fluid. Its thickness changes with the force applied. It flows like a liquid when you’re gentle but becomes solid under pressure, making it perfect for learning and fun.
“Slime is a remarkable example of a non-Newtonian fluid, meaning its viscosity changes depending on the amount of force applied.”
Learning about the science of borax slime lets you make amazing slime at home. It also teaches you about polymers, cross-linking, and non-Newtonian fluids. Let your creativity shine as you dive into slime-making.
Essential Ingredients for Perfect Borax Slime
Making the perfect borax slime is all about the right mix of ingredients. You’ll need PVA glue, borax powder, water, and optional add-ins like food colouring or glitter. Start with 1/4 to 1/2 teaspoon of borax, 1/2 cup of glue, and 1 cup of water. Adjust these amounts to get the slime just right.
Let’s look at the key ingredients for borax slime:
- PVA Glue – This is your slime’s base. White glue works best for most recipes.
- Borax Powder – This turns the glue into stretchy slime. The amount affects how firm it is.
- Water – The right amount of water makes your slime perfect. It helps the borax work its magic.
- Food Coloring (Optional) – Add a few drops for colour.
- Glitter or Confetti (Optional) – Add some for a sparkly effect.
By playing with these ingredients, you can make the slime of your dreams. Start small and adjust until it’s just right.
| Ingredient | Quantity |
|---|---|
| PVA Glue (white or clear) | 1/2 cup |
| Borax Powder | 1/4 to 1/2 teaspoon |
| Water | 1 cup |
| Food Coloring (optional) | As desired |
| Glitter or Confetti (optional) | As desired |
“With the right balance of slime ingredients, you can create a smooth, stretchy, and irresistible borax slime that will captivate both kids and adults.”
Safety Precautions When Making Slime with Borax
The homemade slime craze has been around for nearly 5 years. It’s essential to follow safety steps when making slime with borax. These steps help make a safe slime for children and a non-toxic slime project.
Proper Handling and Storage
To avoid accidents, keep slime ingredients, like borax, away from small kids. Store all supplies in airtight containers. Wash hands well after handling the materials. Avoid touching your eyes or mouth, and work in a well-ventilated area.
Adult Supervision Guidelines
Adults should always supervise children, especially when using borax. Follow the instructions closely, as wrong measurements can affect the slime. Tell children not to taste or eat any slime ingredients.
Workspace Preparation Tips
Before starting, cover your workspace with a mat or paper towels. This keeps spills and messes contained. After you’re done, clean up and dispose of used materials properly.
Following these simple safety tips, you can make a safe slime for children and a non-toxic slime project. Everyone in the family can have fun making it.
Recipe for Making Slime with Borax
Making your slime with borax is easy and fun. You can make classic slime or try new versions like fluffy or clear slime. The main ingredients are borax, glue, and water.
Mix 1/4 teaspoon of borax in 1/2 cup of warm water. Combine 1/2 cup of PVA glue in another bowl with 1/2 cup of water. You can add food colouring to the glue for colour.
Slowly add the borax solution to the glue when both mixtures are ready. Stir well until the slime forms.
Keep kneading until the slime feels right. If it’s too sticky, add more borax. If it’s too hard, add some glue.
Try adding glitter, foam beads, or glow powder for a unique slime.
Getting the right mix is key for excellent borax slime. Experiment with ratios to find your perfect slime. Soon, you’ll be making slime like a pro!
Step-by-Step Mixing Instructions
Creating the perfect easy slime-making steps and diy slime tutorial is all about following the right mixing techniques. Let’s dive into the step-by-step instructions for making your homemade borax slime.
Preparing the Borax Solution
Start by dissolving one teaspoon of borax in 1 cup of warm water. Stir the mixture until the borax powder is fully dissolved, creating your borax solution.
Mixing the Glue Base
Combine 1/2 cup (4 oz.) of white glue in a separate bowl with 1/2 cup of water. You can also use clear glue for a translucent slime. Mix the ingredients until they are well blended.
Combining Solutions
Slowly pour the borax solution into the glue mixture, a little at a time, while stirring continuously. Keep adding the borax solution and mixing until the slime starts to form and reach your desired consistency. Avoid adding all the borax solution at once, as this can make the slime too stiff.
Once the slime has formed, please remove it from the bowl and knead it. Continue kneading until the slime becomes smooth, stretchy, and free of any lumps. If the slime is too sticky, add more borax solution; if it’s too firm, add a splash of water.
Experimenting with the proportions of borax, glue, and water is encouraged to achieve the perfect slime consistency that suits your preferences. Remember, the key to success is slowly adjusting the ingredients as needed.
Troubleshooting Common Slime Issues
Making the perfect slime can be tricky, but we’re here to help! If your slime isn’t right, don’t worry. We have some easy tips to fix it.
If your slime is too sticky, adding more borax solution can help. Start with a small amount, like 1/4 teaspoon, and mix well until it’s right.
But if your slime is too hard, add water or more glue. Mix a little at a time, adding just a tablespoon until it’s soft and right.
Getting the right mix of ingredients and mixing well is key. Kneading the slime can also help. Feel free to try different amounts of glue, borax, and other ingredients to find the best.
| Slime Issue | Solution |
|---|---|
| Too Sticky | Add more borax solution in small increments |
| Too Firm | Incorporate small amounts of water or additional glue |
With trial and error and tips, you’ll make the proper slime every time. Happy slime-making!
Customizing Your Slime with Colors and Add-ins
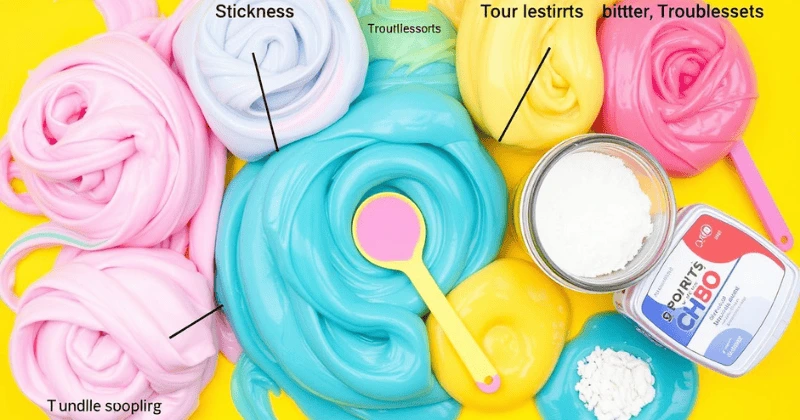
Let your creativity shine, and turn your homemade slime into a masterpiece! Kids’ slime craft is all about making your slime memorable with bright colours and fun add-ins. You can make themed slimes for parties or play with different textures and colours. The fun of customizing slime is endless.
Food Coloring Options
To make your slime colourful, add a few drops of food colouring to the glue before mixing it with borax. Try different colours, from basic to bold, to match your style. Feel free to mix colours for a unique slime look.
Glitter and Confetti Effects
Add sparkle and fun to your slime with glitter or confetti. Mix these into your slime for a cool, textured feel. Sparkly glitter or colourful confetti can make your slime stand out.
Remember, the fun in customizing slime is in being creative. Enjoy trying new colours, textures, and add-ins. Homemade slime is all about making it your own.
Twinkling Recipes has many ideas and tips for customizing slime and other kids’ craft projects. Find new ideas, step-by-step guides, and expert advice to make your slime-making even more fun.
Storage Tips for Long-lasting Slime
Keeping your homemade slime fresh is key for more fun. To keep your slime soft and fun for weeks, follow these easy tips:
- Put slime in airtight containers like deli containers or mason jars to stop it from drying out.
- Avoid placing your slime near heat or direct sunlight. These can make it hard or too sticky.
- Stored right, slime can last months. This lets you enjoy it over and over.
If your slime gets too sticky, don’t fret. Just knead in a bit of borax solution to make it squishy again.
| Ingredient | Amount |
|---|---|
| Elmer’s White School Glue or Clear Glue | 12 ounces |
| Baking Soda | 1 1/2 tablespoons |
| Contact Lens Saline Solution | 2 tablespoons |
Using these slime storage tips, you can enjoy your slime for weeks. It keeps the fun and creativity alive.
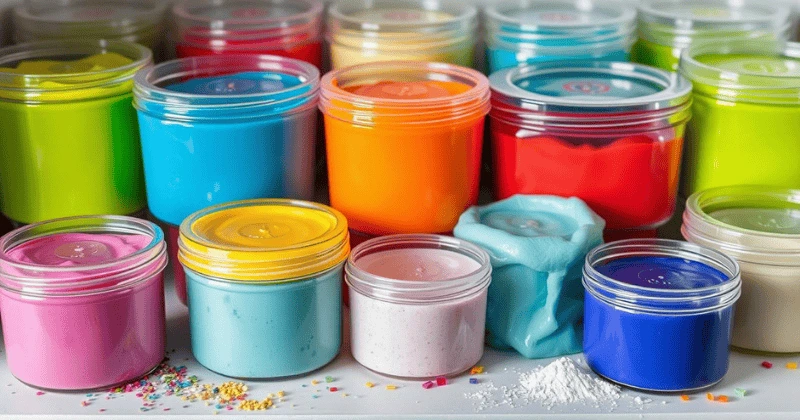
“Properly stored slime can last for months, allowing you to revisit your creation again and again.”
Different Variations of Borax Slime
Get creative with many types of borax slime! You can make fluffy, clear, crunchy, or glitter slime. Each one has its unique texture and look.
Try out borax slime variations and slime recipes to find your favourite. Thanks to shaving cream, fluffy slime is soft like a cloud, while clear slime uses clear glue for a shiny look.
Want something crunchy? Add foam beads for a fun texture. Glitter slime adds a magical sparkle to your slime.
Be your slime artist and explore all the borax slime options. Mix and match ingredients to create your unique slime. The fun of slime-making is waiting for you!
“Slime-making is a sensory experience that sparks creativity and imagination. Embrace the versatility of borax slime and let your inner artist shine!”
Educational Benefits of Slime Making
Slime-making with your kids is a fun way to learn. It’s not just about playing; it’s about exploring and learning. Kids can discover the science of polymers and improve their fine motor skills.
STEM Learning Opportunities
Slime-making is a great way to teach kids about science. They learn about polymers and how slime behaves. This hands-on activity helps them think critically and solve problems.
Sensory Play Benefits
Slime-making is also great for sensory play. It helps kids develop their fine motor skills and hand-eye coordination. They get to explore different textures and colours, which boosts their creativity.
Slime-making is a fun way to learn. It’s perfect for parents, educators, or caregivers. It turns playtime into a learning experience, making it entertaining and educational.
Tips for Achieving the Perfect Slime Consistency
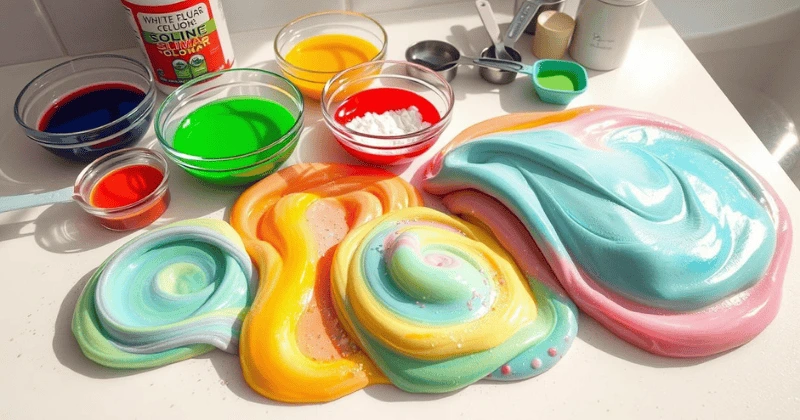
Creating the perfect slime consistency is key to enjoying hours of slimy fun. Start by following the recommended measurements for the ingredients, but don’t be afraid to make adjustments as needed. Thorough kneading is crucial to distributing the components evenly and achieving your desired slime texture.
When adding the borax solution, go slow and gradual to avoid over-activating the slime. Use slightly less borax for a stretchier, more pliable consistency. Experiment with different glue brands and types to find the perfect texture that suits your preferences.
| Ingredient | Recommended Quantity |
|---|---|
| Saline Solution (containing boric acid and sodium borate) | 1 tablespoon |
| Baking Soda | 1/4 – 1/2 teaspoon |
| Saline Solution (for activating) | 1 tablespoon |
The saline solution acts as the slime activator, giving it the desired rubbery texture. Start with a few drops and add more if the slime is too sticky. Remember, when using clear glue, you may need less baking soda than white glue.
Kneading the slime well after mixing is crucial for achieving the perfect consistency. This helps distribute the ingredients evenly and creates a smooth, cohesive texture. For added variety, consider making multiple batches in different colours.
With the proper techniques and some experimentation, you’ll be on your way to creating the perfect slime consistency for hours of slimy fun. Adequate storage in airtight containers can also help your homemade slime last several weeks.
Clean-up and Mess Management
Slime can be a fun activity for kids but can also make a mess. Luckily, you can clean up slime messes easily with the right tips. Just make sure you have everything you need before you start.
First, cover your work area with something you can wash or throw away. Use plastic tablecloths or newspapers. Have white vinegar or warm, soapy water ready to clean up spills. If slime gets on the fabric, try freezing it first, then scrape it off.
Don’t forget to wash your hands well after playing with slime. It’s also wise to keep your slime-making stuff in separate places. This way, you can enjoy making slime without worrying about messes.
| Tip | Description |
|---|---|
| Cover Work Area | Use washable surfaces or disposable materials to contain the mess. |
| Have Cleaning Supplies Ready | Keep white vinegar or warm, soapy water handy for quick clean-ups. |
| Freeze Fabric Stains | Freeze slime-stained fabrics, then scrape off the hardened slime. |
| Wash Hands Thoroughly | Remove any slime residue from your hands after playtime. |
| Store Supplies Separately | Keep slime-making ingredients stored away from each other to avoid accidental spills. |
“With the right preparation and cleaning supplies, you can easily manage those slime messes and keep your home looking tidy.”
Fun Activities and Games with Your Homemade Slime
Explore the endless fun of homemade slime! It’s great for creative play and learning. Let your imagination run wild.
Creative Play Ideas
Get creative with slime! Make slime bubbles that leave fabulous marks. For a fun challenge, try finding hidden objects in your slime.
Use slime as a stress ball. Knead and stretch it to relax.
Educational Experiments
Slime is more than just fun. It’s a way to learn about science. See how fast it flows and how it changes shape.
Discover the fantastic things slime can do. It’s a chance to be a scientist.
Slime is perfect for both fun and learning. It opens up a world of possibilities. Get ready to explore the wonders of slime games and educational slime activities!
| Slime Activity | Description | Benefits |
|---|---|---|
| Slime Bubbles | Craft mesmerizing slime bubbles and leave behind captivating imprints on surfaces. | Promotes creativity, fine motor skills, and sensory exploration. |
| Hidden Object Search | Challenge friends and family to find small trinkets buried in your slime. | Enhances problem-solving, observation, and cooperation skills. |
| Stress Relief | Use your slime as a soothing fidget toy, kneading and stretching it to your heart’s content. | Helps alleviate stress and anxiety, promoting mindfulness and relaxation. |
| Viscosity Experiments | Measure how quickly your slime pours or drips to explore its non-Newtonian fluid properties. | Fosters scientific curiosity, critical thinking, and STEM learning. |
Enjoy the many uses of homemade slime. It’s full of slime games and educational slime activities for endless fun.
Alternative Ingredients and Substitutions
If you want to make slime without borax, there are many options. You can use liquid starch as a substitute. It helps create a slime-like texture. Saline or contact lens solutions with boric acid and sodium borate are also good alternatives.
Don’t limit yourself to just Elmer’s PVA Glue. Try clear, glitter, or school glue for different slime textures. For kids, cornstarch or marshmallows are great for making slime that’s safe to taste.
Always check if new ingredients are safe and appropriate for the kids using them. Follow safety rules and watch children closely while making slime. With some trial and error, you can find many borax-free slime recipes you’ll love.
FAQ
What are the key ingredients for making borax slime?
To make borax slime, you need PVA glue (white or clear), borax powder, water, and optional food coloring or glitter.
How does borax interact with PVA glue to create slime?
Borax’s borate ions connect the PVA glue’s long chains. This makes a stretchy, slimy substance that’s neither liquid nor solid.
Is borax slime safe for children?
Borax slime is mostly safe, but be careful. Adults should watch kids closely. Keep it away from eyes and mouths. Use it in a well-ventilated area and store it in airtight containers.
What is the basic recipe for making borax slime?
Mix 1/4 teaspoon of borax with 1/2 cup of warm water. Then, combine that with 1/2 cup of PVA glue and 1/2 cup of water. Add food coloring to the glue if you want.
How can I adjust the consistency of my slime?
For sticky slime, add more borax solution. For firm slime, add water or more glue. Make sure to mix well and knead until right.
How can I customize my slime with different colors and add-ins?
Add food coloring to the glue before mixing with borax. You can also add glitter or confetti after the slime forms.
How do I properly store my homemade slime?
Keep slime in airtight containers to prevent drying. Store it away from heat and sunlight. It can last for months if stored right.
What are some different types of borax slime I can make?
Try making fluffy slime with shaving cream, clear slime with clear glue, or crunchy slime with foam beads. Glitter slime is also fun. Experiment with different ingredients for unique textures.
What are the educational benefits of making slime?
Slime making teaches STEM concepts like polymers and chemical reactions. It also improves fine motor skills and creativity through sensory play.
What are some alternatives to using borax in slime recipes?
Use liquid starch, saline solution, or contact lens solution instead of borax. Try clear glue or glitter glue for different textures. Natural slime recipes are great for kids, using cornstarch or marshmallows.

