As a parent, I’ve seen my kids’ joy when making homemade slime. They love the colors and textures. It sparks their creativity and wonder. If you want to try this with your kids, this guide will help you make the perfect slime at home.
Table of Contents
Whether you’re new to slime or already love it, this guide will help you. You’ll learn how to make mesmerizing, safe, and long-lasting slime for your kids. Let’s start and learn how to make slime together!
Understanding the Basics of Slime Making
Slime-making is a fun activity that lets you explore chemistry hands-on. It involves mixing glue with a slime activator, like boric acid and sodium borate. This mix turns the glue into a stretchy, fun substance called slime.
What Makes Slime Work
The secret to great slime is the right mix of ingredients. White school glue, baking soda, and contact lens solution are key. They help create different slime textures and slime consistencies.
Essential Safety Precautions
Slime-making needs safety steps. Adults should watch over kids to avoid accidents. Also, wash hands well before and after to stay clean.
Benefits of Making Homemade Slime
- Promotes sensory exploration and engagement
- Enhances problem-solving and critical thinking skills
- Fosters creativity and imagination
- Encourages scientific discovery and understanding
- Offers a fun and educational activity for children and adults alike
Learning about slime-making opens the door to making cool slime. It brings joy and wonder to everyone.
Core Ingredients for Perfect Slime Recipe
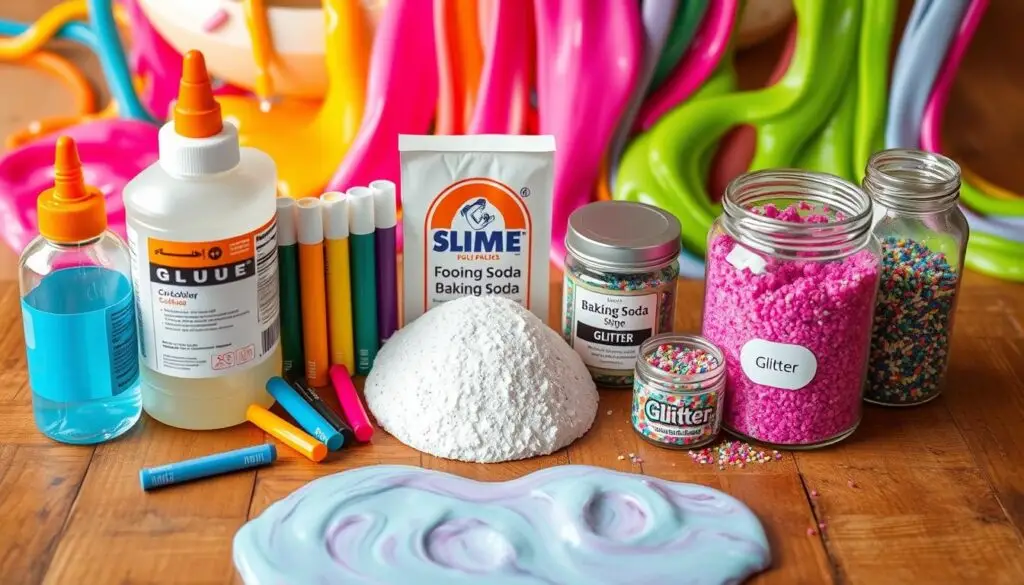
Making the perfect homemade slime is easy with just a few key supplies. You’ll need white Elmer’s glue, baking soda, and contact lens saline solution. These simple items let you create slime in many textures and colors, fun for kids and adults alike. Let’s explore the essential slime supplies and easy slime recipe.
To start, mix 8 ounces of white Elmer’s glue, 1 tablespoon of baking soda, and 1.5 to 2 tablespoons of contact lens saline solution. The saline solution, with boric acid and sodium borate, is key for slime activation and texture. You can adjust the amounts for bigger or smaller batches.
For extra fun, try adding food coloring, glitter, or shaving cream for fluffy slime. But add these extras carefully, as they can change the slime-making process. With creativity and a bit of trial and error, you can make unique and engaging slime supplies for hours of play and discovery.
| Ingredient | Quantity |
|---|---|
| White Elmer’s Glue | 8 oz |
| Baking Soda | 1 Tbsp |
| Contact Lens Saline Solution | 1.5-2 Tbsp |
Remember, the perfect slime recipe is about experimenting and finding the right mix. Happy slime-making!
Types of Glue and Their Effects on Slime
The type of glue you pick can really change your slime’s slime consistency. White school glue, like Elmer’s, makes a soft, stretchy slime. Clear glues, however, make a thicker, clearer slime. This lets you see colors and elements better.
White School Glue vs. Clear Glue
White school glue is a top pick for slime, making it soft and stretchy. Elmer’s White School Glue gets 4.9 stars from over 470 reviews. Clear glues, like Amazon Basics, make a clear slime that’s thicker and more shiny.
Specialty Glues for Unique Textures
There are special glues for slime that add cool textures. Elmer’s Liquid Glitter Glue adds sparkle. Cra-Z-Art Washable School Glue lets you make many slime types. You can try lots of slime ingredients to find what you like.
“Choosing the right type of glue is crucial for achieving your desired slime consistency and visual appeal.”
Slime Activators: Contact Solution and Alternatives
Choosing the right activator is key to making perfect slime. Contact lens solution is the most popular, thanks to its boric acid and sodium borate. These ingredients mix with glue to create slime’s unique texture. But, there are other activators you can try too.
One good substitute is liquid starch. It makes a simple 3-ingredient slime recipe. Borax powder is another activator, though it might be hard to find in places like the UK, Australia, and Canada. Eye drops or eye wash solutions with boric acid also work well.
Getting the activator amount right is important. Too much or too little can mess up the slime’s texture. Always follow the recipe’s instructions closely. Slime made without contact solution or borax might not be as stretchy or bouncy.
For unique slime textures, try adding gummy bears, fiber, or Jello. There are also slime recipes that are safe to eat, like marshmallow and Peeps slime. These are great for kids who love to eat their slime.
“The Ultimate Slime Guide provides comprehensive information on making different types of slime, suitable for kids of all ages.”
Remember, making slime can be fun, but safety comes first, especially with kids. Always watch over them when making slime. Make sure to wash your hands before and after touching the slime. With the right activator and a bit of creativity, you can make all sorts of colorful, stretchy slime.
The Role of Baking Soda in Slime Making
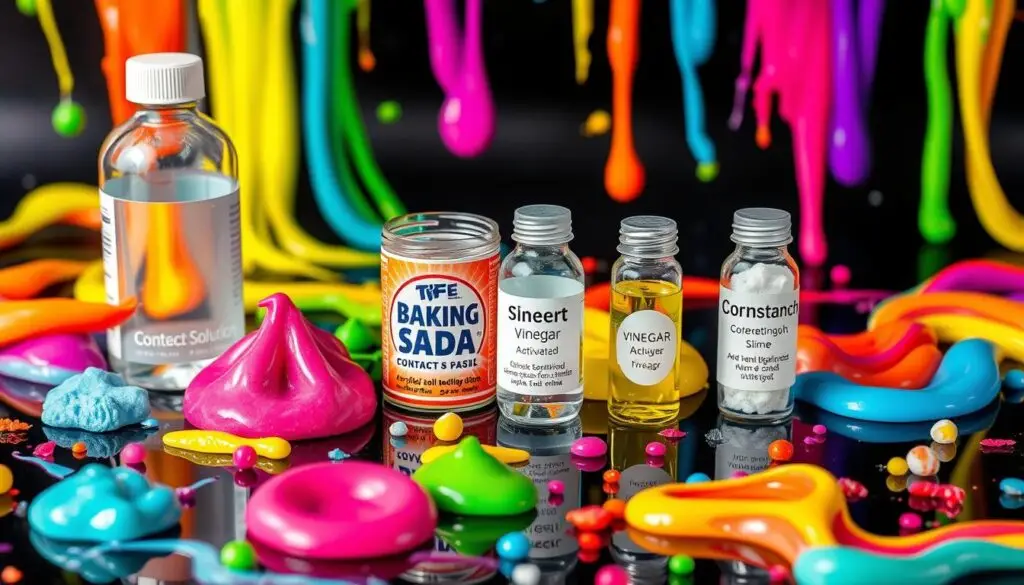
Baking soda is key in making slime. It thickens the mixture and changes its consistency. When mixed with other slime ingredients, it creates the right slime texture.
Proper Measurements and Ratios
To get the right slime, use the right baking soda amount. Start with 1/2 teaspoon of baking soda for every 2/3 cup of glue. You can adjust this based on your slime type and preference.
Troubleshooting with Baking Soda
If your slime is too sticky, add more baking soda. But, if it’s too stiff, you’ve added too much. Try adding more glue or contact solution to fix it. Finding the right baking soda amount is crucial for perfect slime.
Learning about baking soda in slime making is fascinating. It helps you understand the science behind it. With the right measurements and troubleshooting, you can make slime that everyone will love. Check out this link for more slime recipes.
| Slime Ingredient | Quantity |
|---|---|
| Washable White School Glue | 1/2 cup |
| Saline Solution | 1 tbsp |
| Baking Soda | 2 tbsp |
| White Vinegar | 1/4 cup |
| Food Coloring (yellow and red) | As needed |
“Baking soda is the key to unlocking the perfect slime consistency. With a little bit of experimentation, you can create slime that is both visually appealing and satisfyingly smooth to the touch.”
Creating Fluffy Slime with Shaving Cream
Ready to make slime that’s super squishy and fluffy? The fluffy slime recipe is here to help. It turns regular slime into a soft, cloud-like treat. Just add shaving cream to make it happen.
To get this fluffy slime, mix glue, shaving cream, and activator just right. Start with 1/2 cup of white school glue and 3 cups of shaving cream. Fold them together until smooth. Then, add 1 tablespoon of saline solution and 1/4 to 1/2 teaspoon of baking soda to make it come alive.
- Knead the mix until it’s fluffy and stretchy.
- Adjust the shaving cream to glue ratio for more fluff.
- Use just the right amount of activator to avoid a rubbery slime.
Fluffy slime is special because it holds its shape but feels soft. Unlike regular slime, it doesn’t stretch as far. But, it leaves a cool indentation when pressed. Plus, its fluffiness lasts about a day before it settles.
“Fluffy slime is the perfect sensory experience for kids and adults alike. The soft, pillowy texture is simply mesmerizing to play with.”
Get creative with your fluffy slime by adding colors, glitters, and holiday themes. Try Valentine’s Fluffy Slime or Candy Corn Fluffy Slime for Halloween. The fun never ends with fluffy slime recipes!
Adding Colors and Decorative Elements
Get creative and turn your slime recipe into a colorful masterpiece. You can use bold colors or add glitter for a sparkly touch. The options for making your DIY slime unique are endless.
Food Coloring Techniques
Add food coloring to your glue mix before adding the activator. This ensures the color spreads evenly. Try mixing different colors for a unique look. Use clear glue for slimes that show off their decorations.
Glitter and Bead Options
- Add some glitter for a shiny effect.
- Include small beads or foam balls for texture and interest.
- Play with different sizes, shapes, and colors of decorations to make your slime special.
Be creative and enjoy trying out different colors and decorations. The ways to customize your slime are limitless. You can make it truly your own.
“Slime-making is not just a crafty activity, but a therapeutic one that can help reduce stress and improve focus.”
Texture Modifications and Variations
Make your slime-making more exciting by trying different textures and variations. Changing the ingredient ratios is key to getting the slime you want. For a firmer slime, add more contact solution. For a stretchier slime, add more glue.
Try adding new things to your slime. Foam beads make a crunchy slime. Clay makes a butter slime. Adding lotion or baby oil can make your slime smoother and easier to spread. Each change can give you a new and fun slime to play with.
| Slime Texture | Ingredient Adjustment |
|---|---|
| Firm Slime | Increase Contact Solution |
| Stretchy Slime | Add More Glue |
| Crunchy Slime | Mix in Foam Beads |
| Butter Slime | Incorporate Clay |
| Smooth Slime | Include Lotion or Baby Oil |
Let your creativity shine by trying out different ingredients. Be your own slime artist and make slime that’s just right for you.
“The beauty of slime-making lies in its endless possibilities. Embrace the journey of discovery and create slime that truly captivates your senses.”
Storage Tips and Slime Longevity
Storing your homemade slime right is key to keeping it fresh. Use airtight containers or zip-top bags to keep it moist. This stops it from drying out and keeps it stretchy. Also, avoid direct sunlight and heat to slow down its breakdown.
Proper Container Selection
Choosing the right container is important. Go for airtight ones like glass jars or plastic containers with tight lids. Don’t store slime in open bowls or cups as it dries out faster. Plastic bags that seal well are also great for keeping slime fresh.
Extending Slime Shelf Life
To make your slime last longer, add a few drops of antibacterial solution when you store it. This stops mold and bacteria from growing. If your slime gets too sticky, just add a bit of activator to fix it.
| Slime Type | Estimated Shelf Life |
|---|---|
| Cloud Slime | Up to 4 weeks |
| Cloud Cream Slime | 2-3 weeks |
| Butter Slime | 1-2 weeks |
| Slay Slime | 5-7 days |
By using these storage tips, your homemade slime will stay perfect for longer. Enjoy the slimy fun for more time.
“Proper storage is the key to preserving the quality and texture of your slime creations.”
Common Mistakes to Avoid
Making the perfect slime is fun and rewarding. But, it’s key to avoid common mistakes. Don’t use shave gel instead of shaving cream for fluffy slime. Shave gel and shaving cream are not the same.
Make sure your contact lens solution has boric acid and sodium borate. These are key for slime. Also, don’t swap out ingredients without testing them. This can ruin your slime’s texture and how it works.
One big mistake is adding too much activator. A little is good, but too much makes slime hard and hard to work with. Also, don’t over-knead your slime. This can make it too gooey and hard to handle.
- Steer clear of using shave gel instead of shaving cream for fluffy slime
- Ensure your contact lens solution contains boric acid and sodium borate
- Don’t substitute ingredients with untested alternatives
- Avoid adding too much activator, which can make slime too hard
- Be cautious of over-kneading, which can break down the slime’s structure
Remember these tips to make perfect slime tutorial and slime recipe every time. Enjoy the slime-making process and let your creativity flow!
Advanced Slime Techniques and Recipes
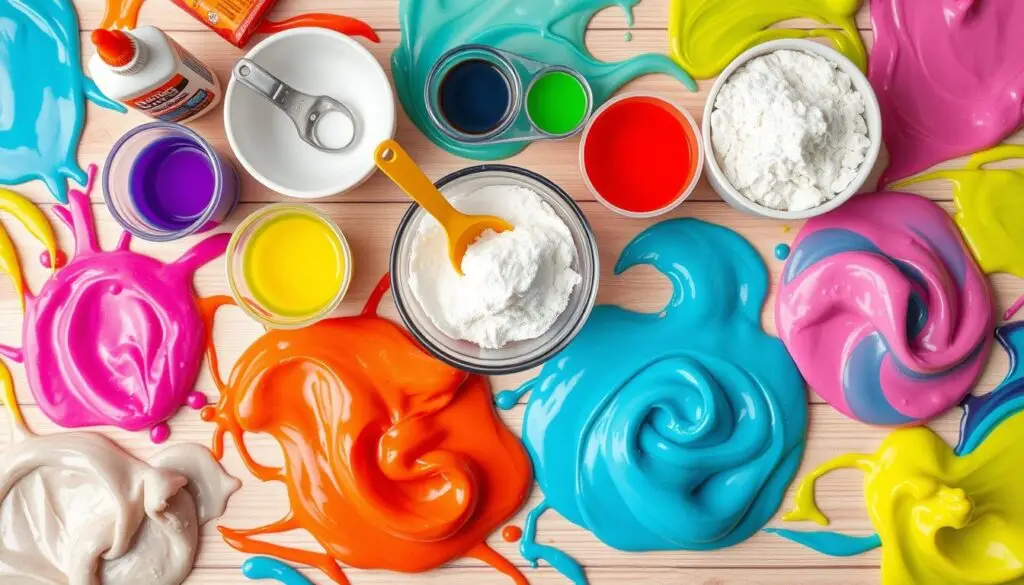
Discover the secrets of making amazing slime with advanced techniques and recipes. You can make mesmerizing galaxy slime or enchanting unicorn slime. Try glow-in-the-dark slime that glows in the dark or color-changing slimes that change color before your eyes.
Be adventurous and use liquid starch or borax as slime bases. These ingredients can make your slime unique. Also, scented slimes with essential oils or fragrances offer a fun sensory experience.
Unleash your creativity and become a slime artist with these advanced techniques:
- Galaxy Slime: Mix shimmering glitters and iridescent pigments for a cosmic slime.
- Unicorn Slime: Combine pastel colors, glitter, and holographic flakes for a magical slime.
- Glow-in-the-Dark Slime: Add glow-in-the-dark powder or paint for a slime that shines in the dark.
- Color-Changing Slime: Use thermochromic pigments that change color with temperature changes.
- Floam Slime: Mix slime with polystyrene foam beads for a crunchy and squishy slime.
Unleash your inner slime alchemist and explore the endless possibilities of slime recipes and DIY slime creations. Enjoy the joy of sensory exploration and let your imagination soar.
“Slime-making is not just a passing trend – it’s a way to tap into the child-like wonder and creativity that lives within all of us.”
Sensory Benefits and Educational Value
Slime play is a fun way for kids and adults to explore and learn. It lets people use their creativity and science skills. Plus, it’s good for their senses and brain.
Making slime helps improve hand skills. Kids get better at using their hands and eyes together. This makes them feel proud and prepares them for harder tasks later.
Slime is also great for learning. It teaches kids about chemistry, like what glue and baking soda do. This hands-on learning sparks curiosity and helps kids think critically.
For those who feel stressed or anxious, slime can be calming. Its feel can help calm emotions and reduce stress. It’s a way for kids and adults to find peace.
Teachers can use slime to make science fun. It turns learning into a hands-on adventure. Students get to see how chemicals work and learn about materials.
Homemade slime is a treasure for anyone who loves to create. It’s not just fun; it’s also educational. It helps with hand skills, encourages creativity, and teaches science.
“Slime play promotes sensory exploration and aids in child development, enhancing fine motor skills, creativity, and scientific understanding.”
Conclusion
Making slime is fun for everyone, no matter your age. You can make different slime textures and types. Always be safe and try new slime recipes.
Homemade slime is great for fun, stress relief, or learning. You can learn about slime’s chemistry and make it your own. Let your creativity shine in the slime world!
Get your materials ready and start making slime. There’s so much to explore and enjoy. The slime adventure is just beginning!
FAQ
What are the essential ingredients for making slime?
To make slime, you need white Elmer’s glue, baking soda, and contact lens saline solution. This solution has boric acid and sodium borate.
How do I create fluffy slime?
For fluffy slime, mix 2-3 cups of shaving cream with the basic slime ingredients. Then, add the activator. The slime will be fluffy for a day before it settles.
What can I use as an alternative to contact lens solution for activating slime?
You can use liquid starch or borax solution as alternatives. These activators react with the glue to create the slime’s structure.
How do I adjust the texture of my slime?
Change the slime’s texture by adjusting the ingredient ratios. For firmer slime, add more contact solution. For stretchier slime, use more glue. Try adding lotion or baby oil to change its properties.
How do I store homemade slime to keep it fresh?
Store slime in airtight containers or zip-top bags to keep it moist. Keep it away from sunlight and heat. Stored properly, slime can last a week. Adding antibacterial solution can extend its life.
What are some common mistakes to avoid when making slime?
Don’t use shave gel for fluffy slime. Make sure the contact lens solution has boric acid and sodium borate. Avoid untested substitutes. Too much activator makes slime hard, and over-kneading can damage it.
What are the benefits of making homemade slime?
Making slime helps with sensory exploration and child development. It improves fine motor skills, creativity, and scientific knowledge. It’s also a stress-reliever for kids and adults.

